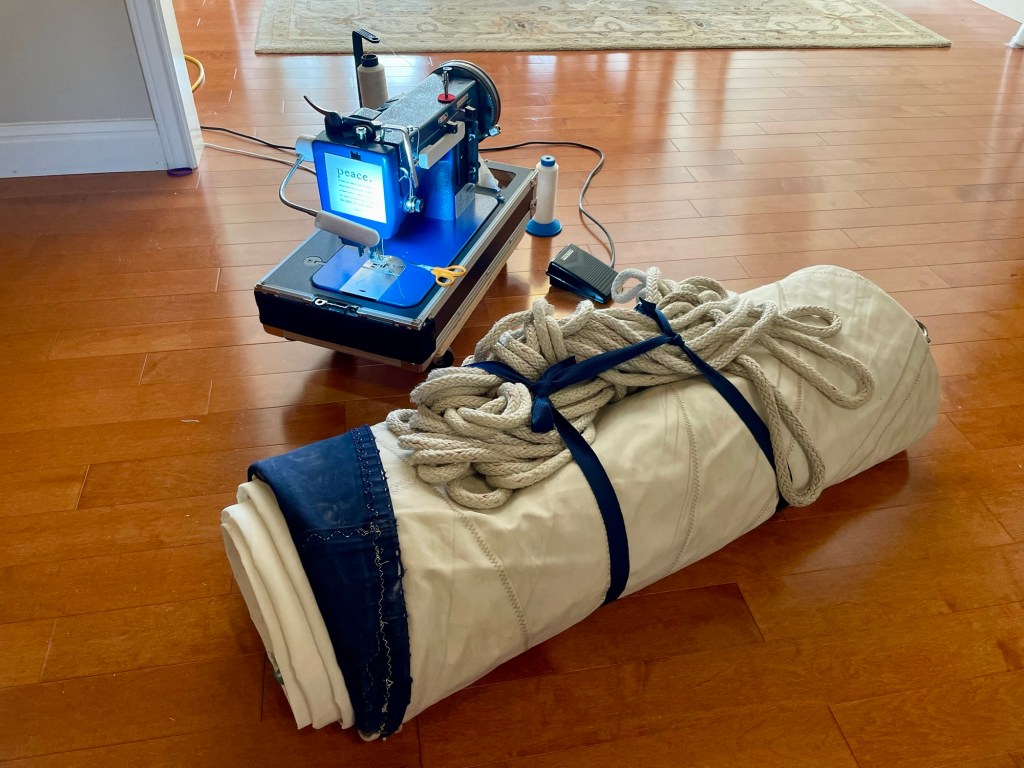
I finally got a couple of days to work on our jib. The sailcloth is in good shape for the most part. Except for the section along the leech that gets beat against the shrouds every tack, and pressed tight against the spreaders when close hauled. It has torn in several places.
After a discussion with the sailmaker at Sailrite I decided to go for a repair that replaced the first 30” or so on the leech end of 3 panels of the sail. Also patched the beat up sunbrella sun cover and made new spreader patches. And replaced a few well worn webbing strips at the head and clew as well.
It took me about 2 full days of my slow but steady mode of work. Also using PTFE thread in my LSZ-1 is a huge pain in the aft, but it’s a necessity for the UV-exposed stitching.
But it’s done and I like how it came out. And I have my living room back. Fingers crossed that it does the trick 🤞🏼
While I was doing this project, Monte was rebuilding and installing our autopilot wheel drive unit. ✅ and ✅
Julie and Ryan recently acquired a new-to-them sailboat. It’s an older Catalina 25. It needs some work, so we are helping them get things fixed up. Clever Monte got the outboard motor working. Now he is helping Ryan repair the electrics on-board. Julie brought over the sails, which need some mending. Their mainsail will be my next sail project. It’s in pretty good shape, except where sun damage caused some tears and deterioration where the previous owner left parts of the sail exposed.
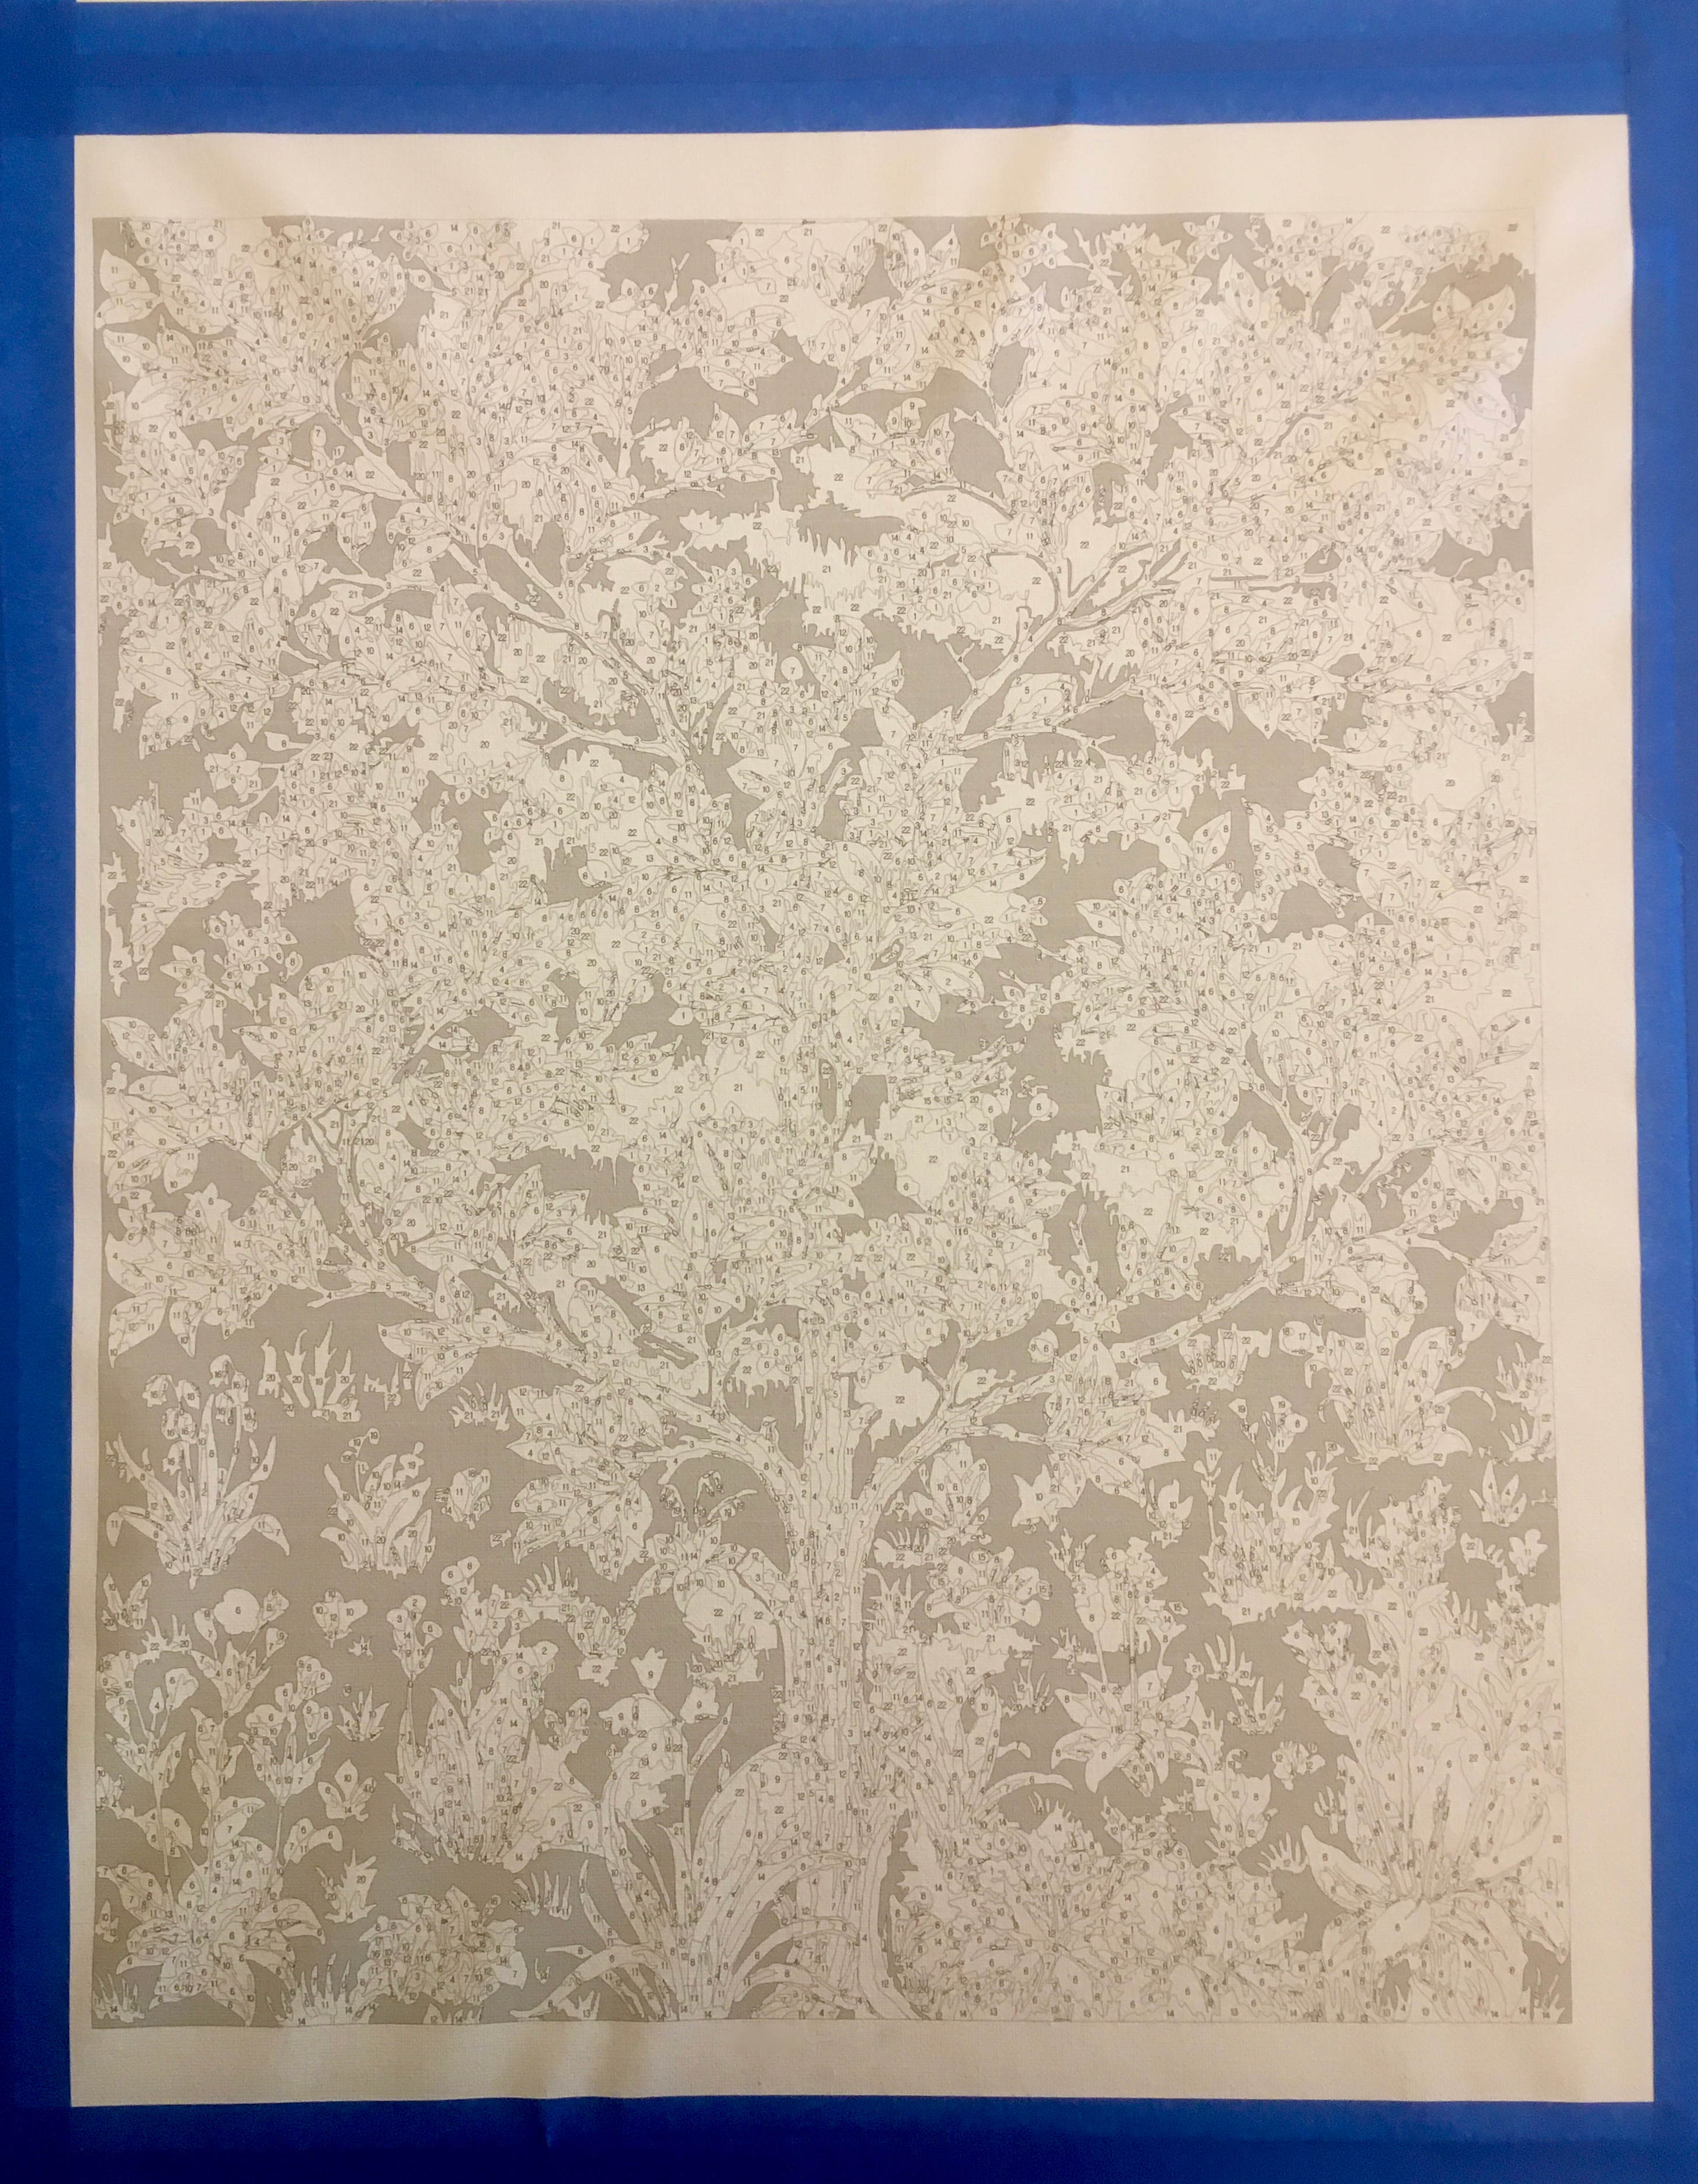
I ordered a paint-by-number kit a month ago to help me pass the time in self-imposed quarantine. It took a while but arrived today. Perhaps I should have picked something smaller… No matter, I will start tonight and take my time. Wish me luck! 🙂
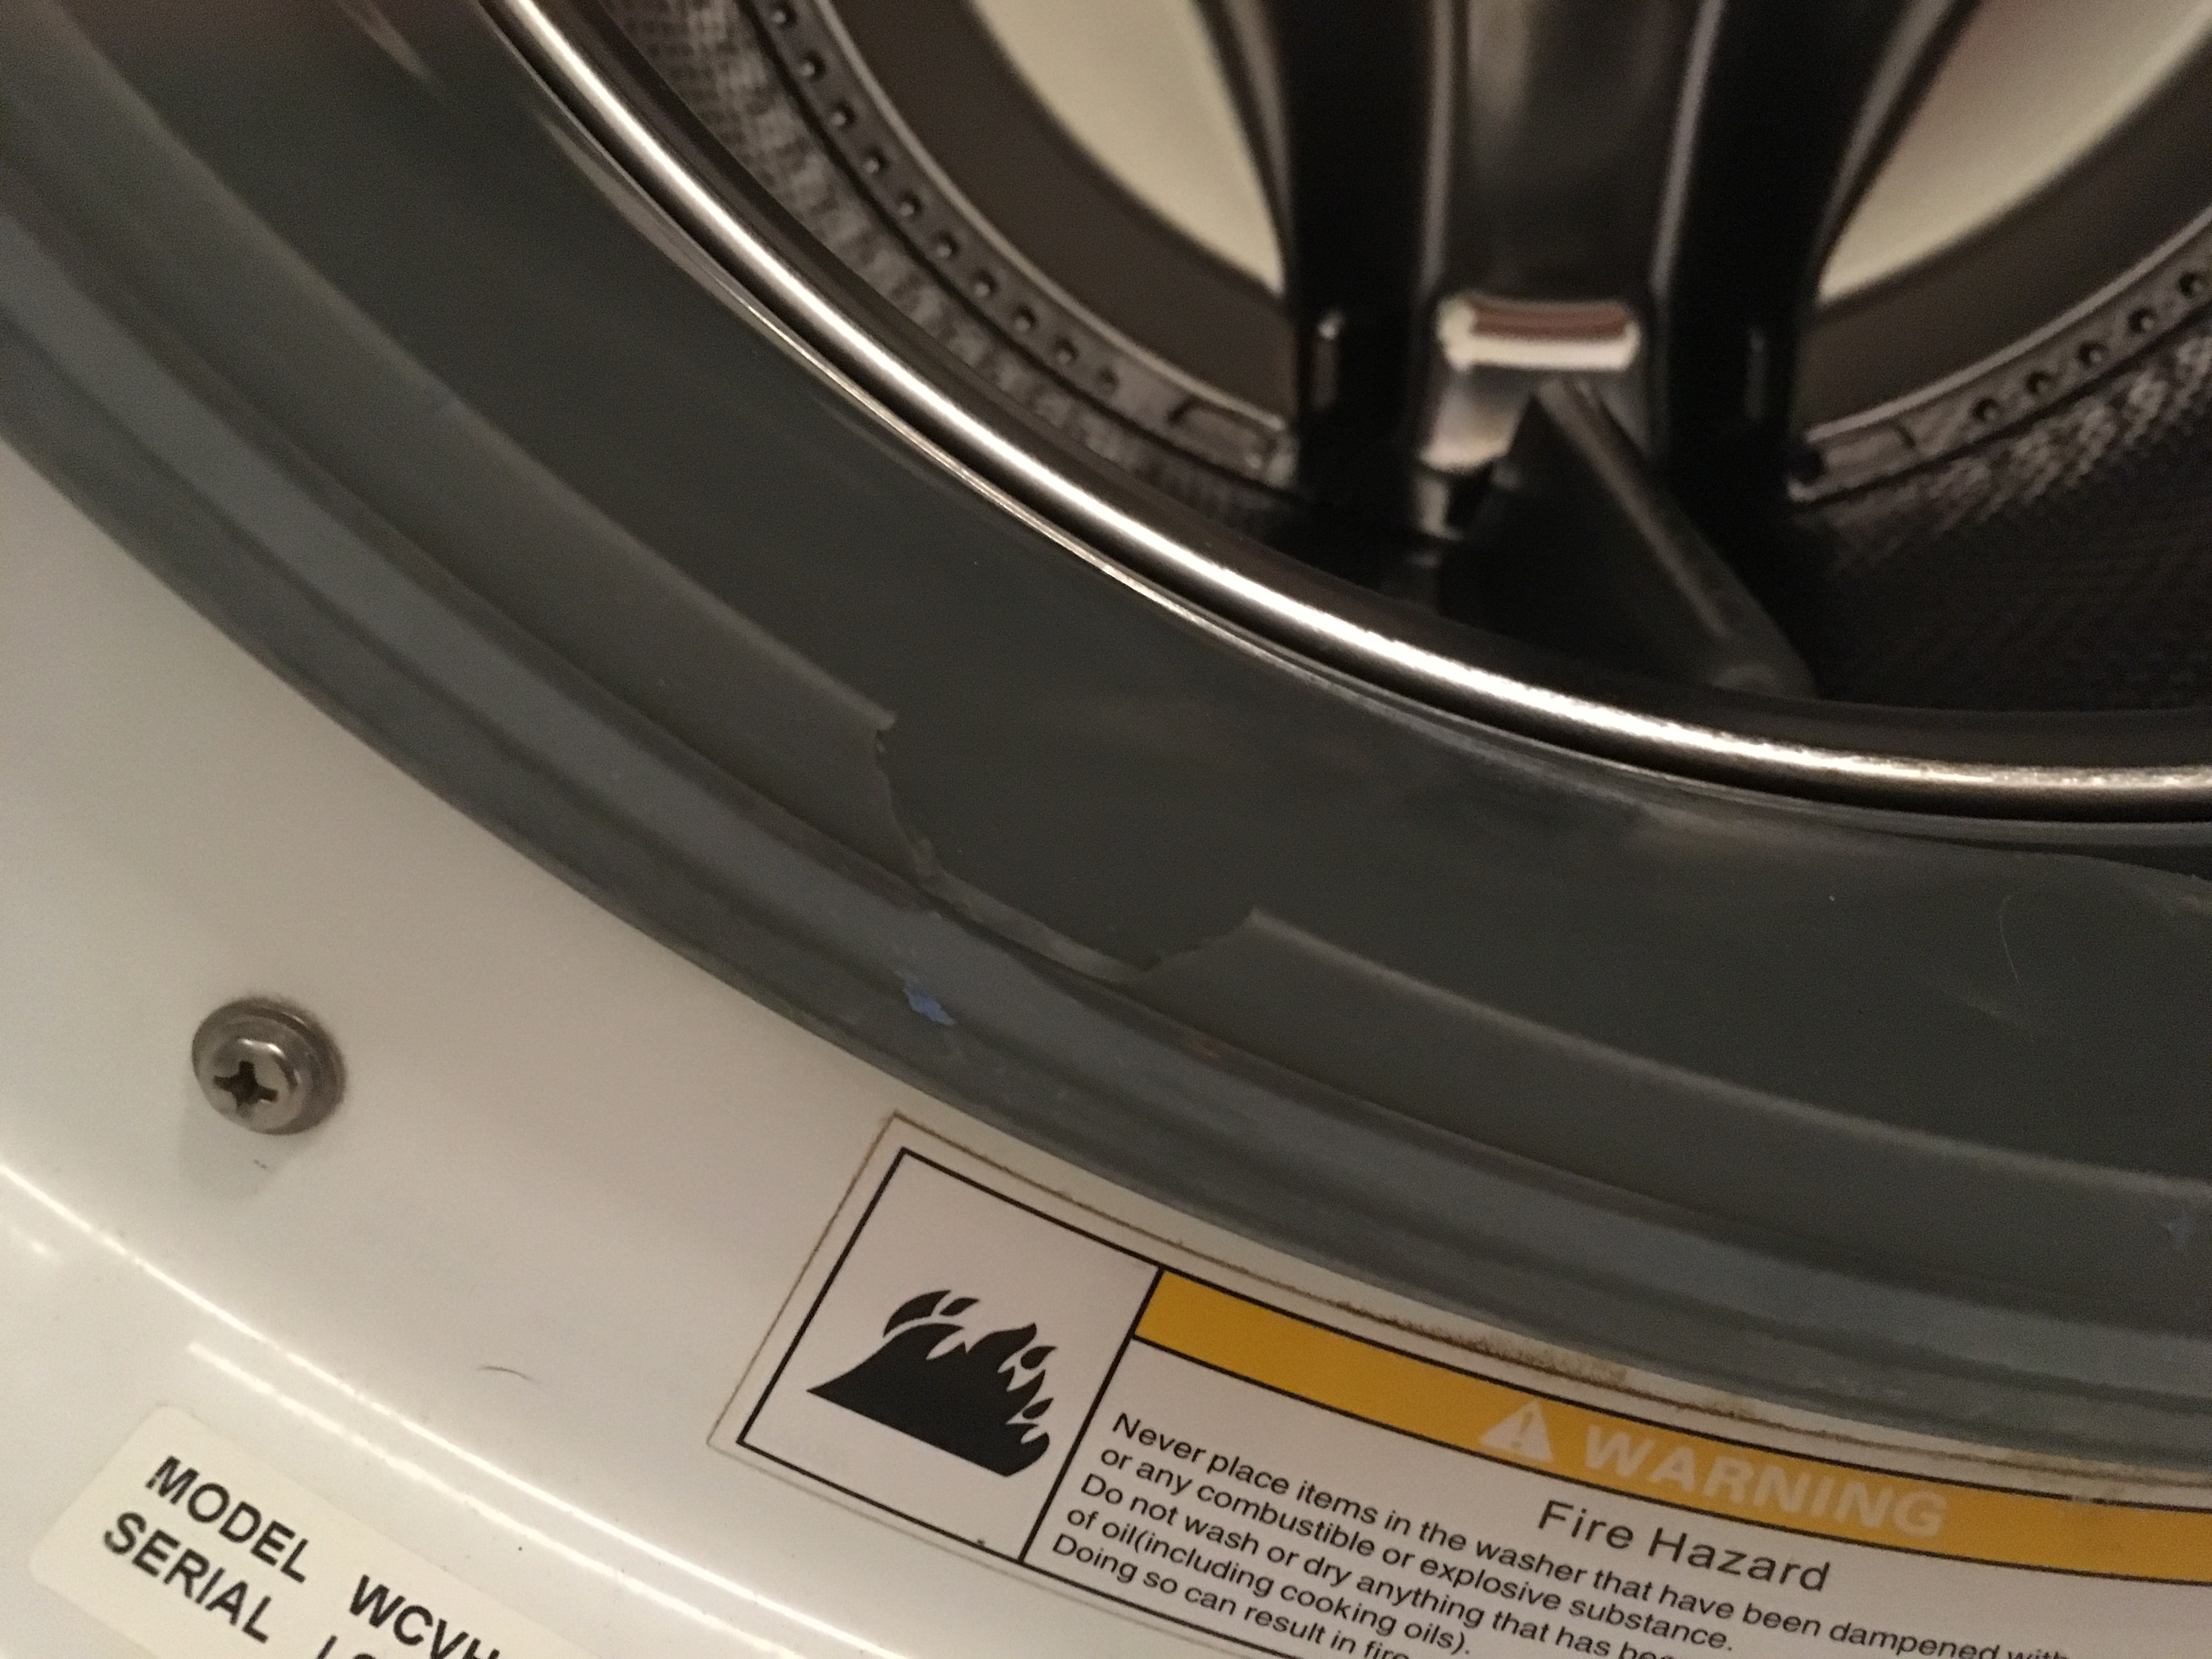
Several months ago, I noticed water leaking from our 10-year old GE front-load washing machine while doing a load of laundry. Upon inspection, I saw that a little piece of the rubber seal between the drum and the door had been torn away.
For a while, a temporary repair involving tape worked. But the leak returned and eventually got worse.
After a little internet research, I found and ordered a replacement part – a new rubber door gasket – and found a couple of videos walking through how to replace it step by step. I suggest watching more than one, as each one highlights slightly different things. These are the 2 videos I found. I decided to give it a shot.
The part came in last week, so today was the day to install it! The videos are only about 15 minutes long. My total elapsed repair time was around 3 hours, though, which included collecting the tools I needed, moving the washer out to where I could work on it, cleaning everything as I went, and playing/pausing both videos as I proceeded from one step to the next.
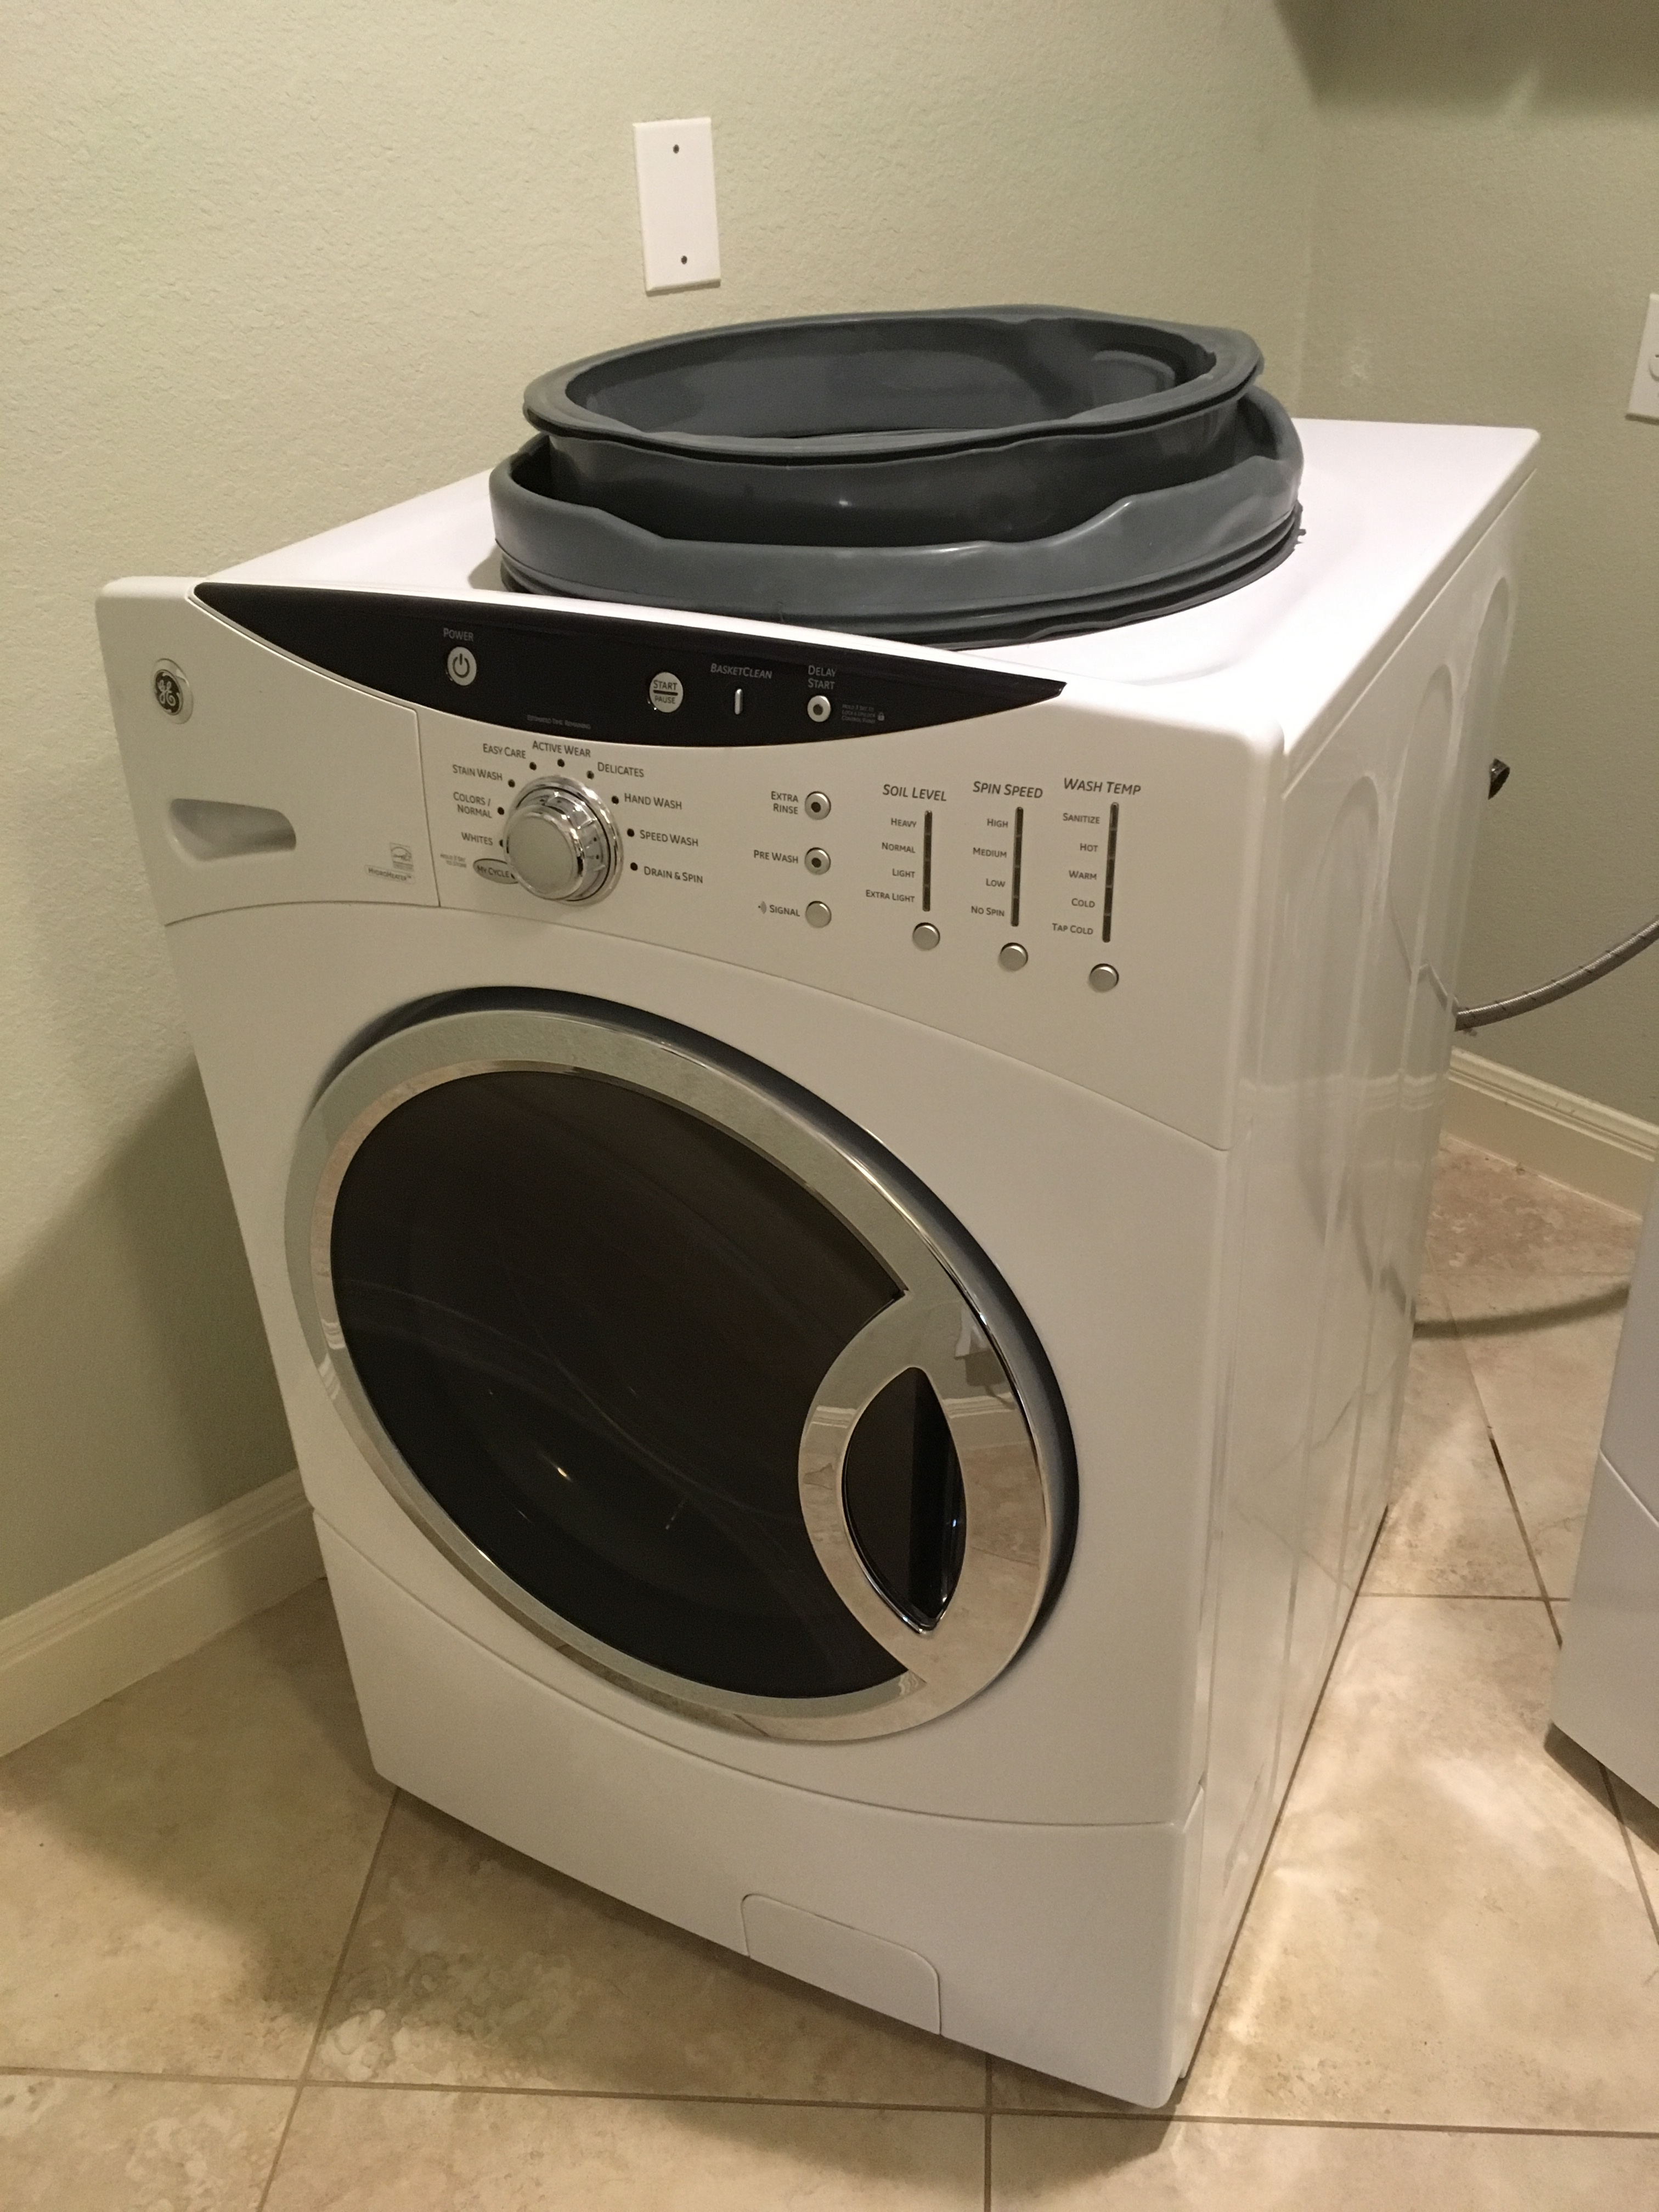
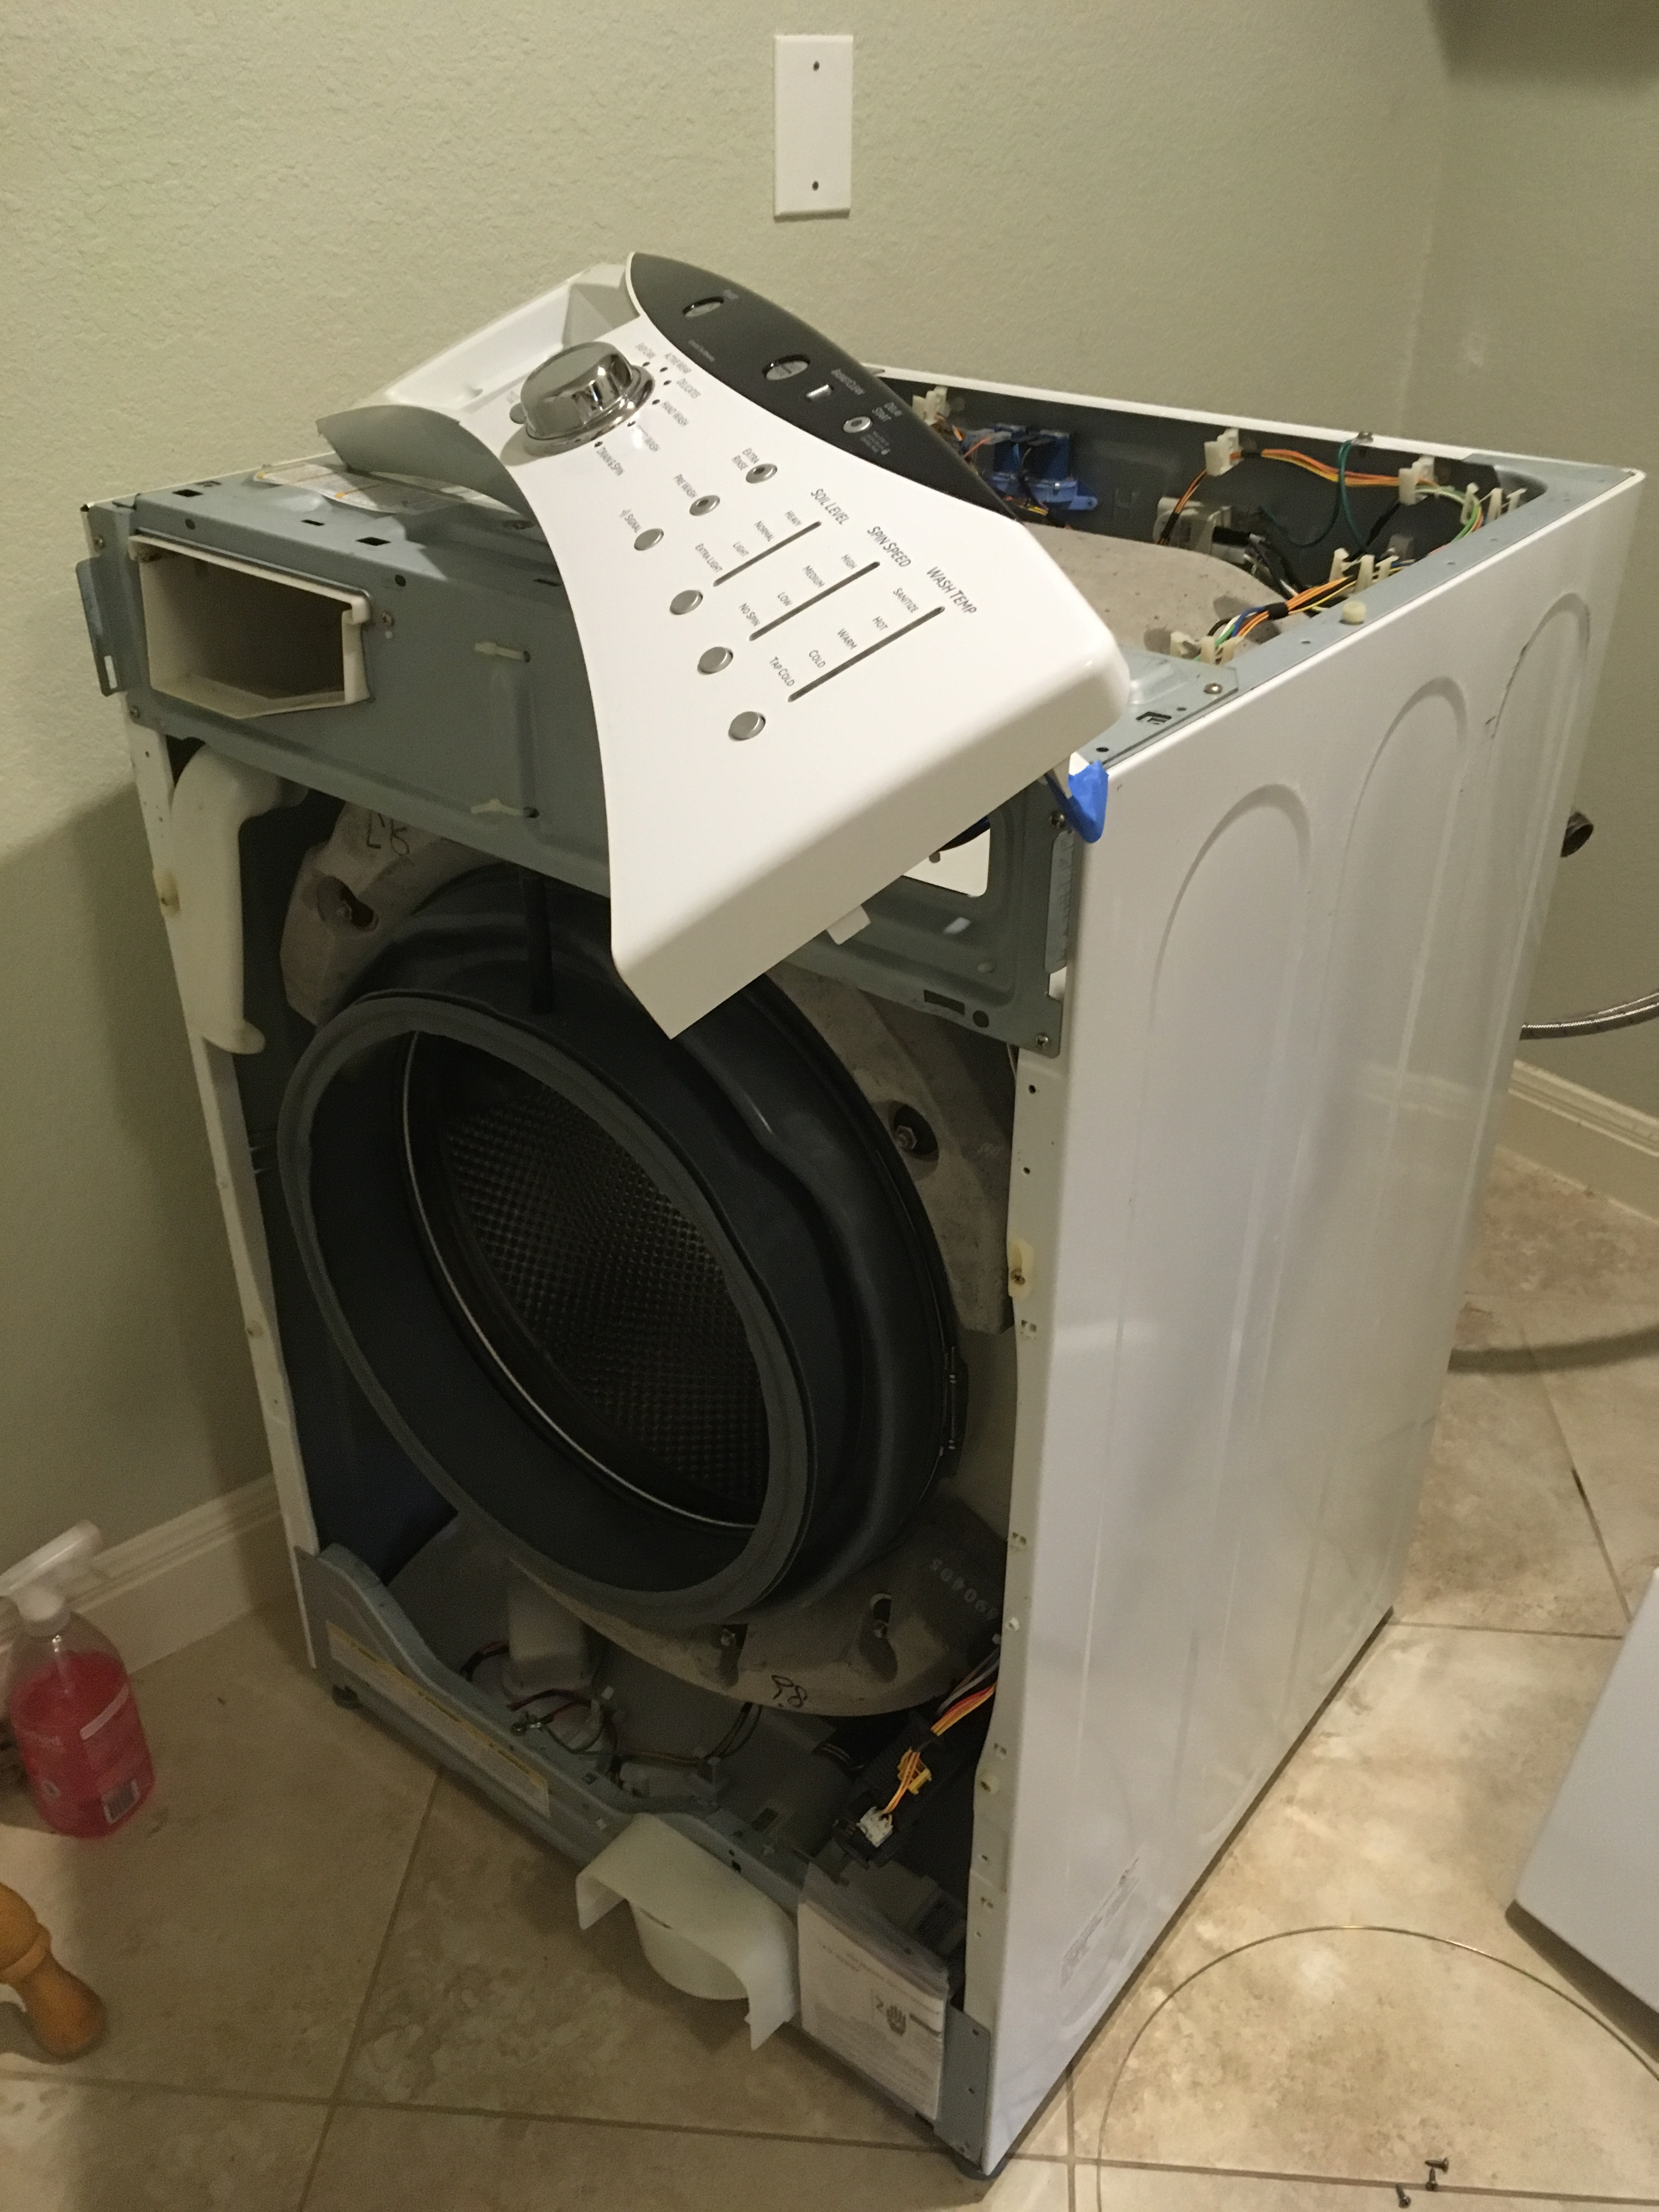
The patient, with new door gasket sitting on top of the machine:
While the videos say the repair is an easy one, it does require you to disassemble much of the machine, or at least more than I thought would fall into the “easy” category.
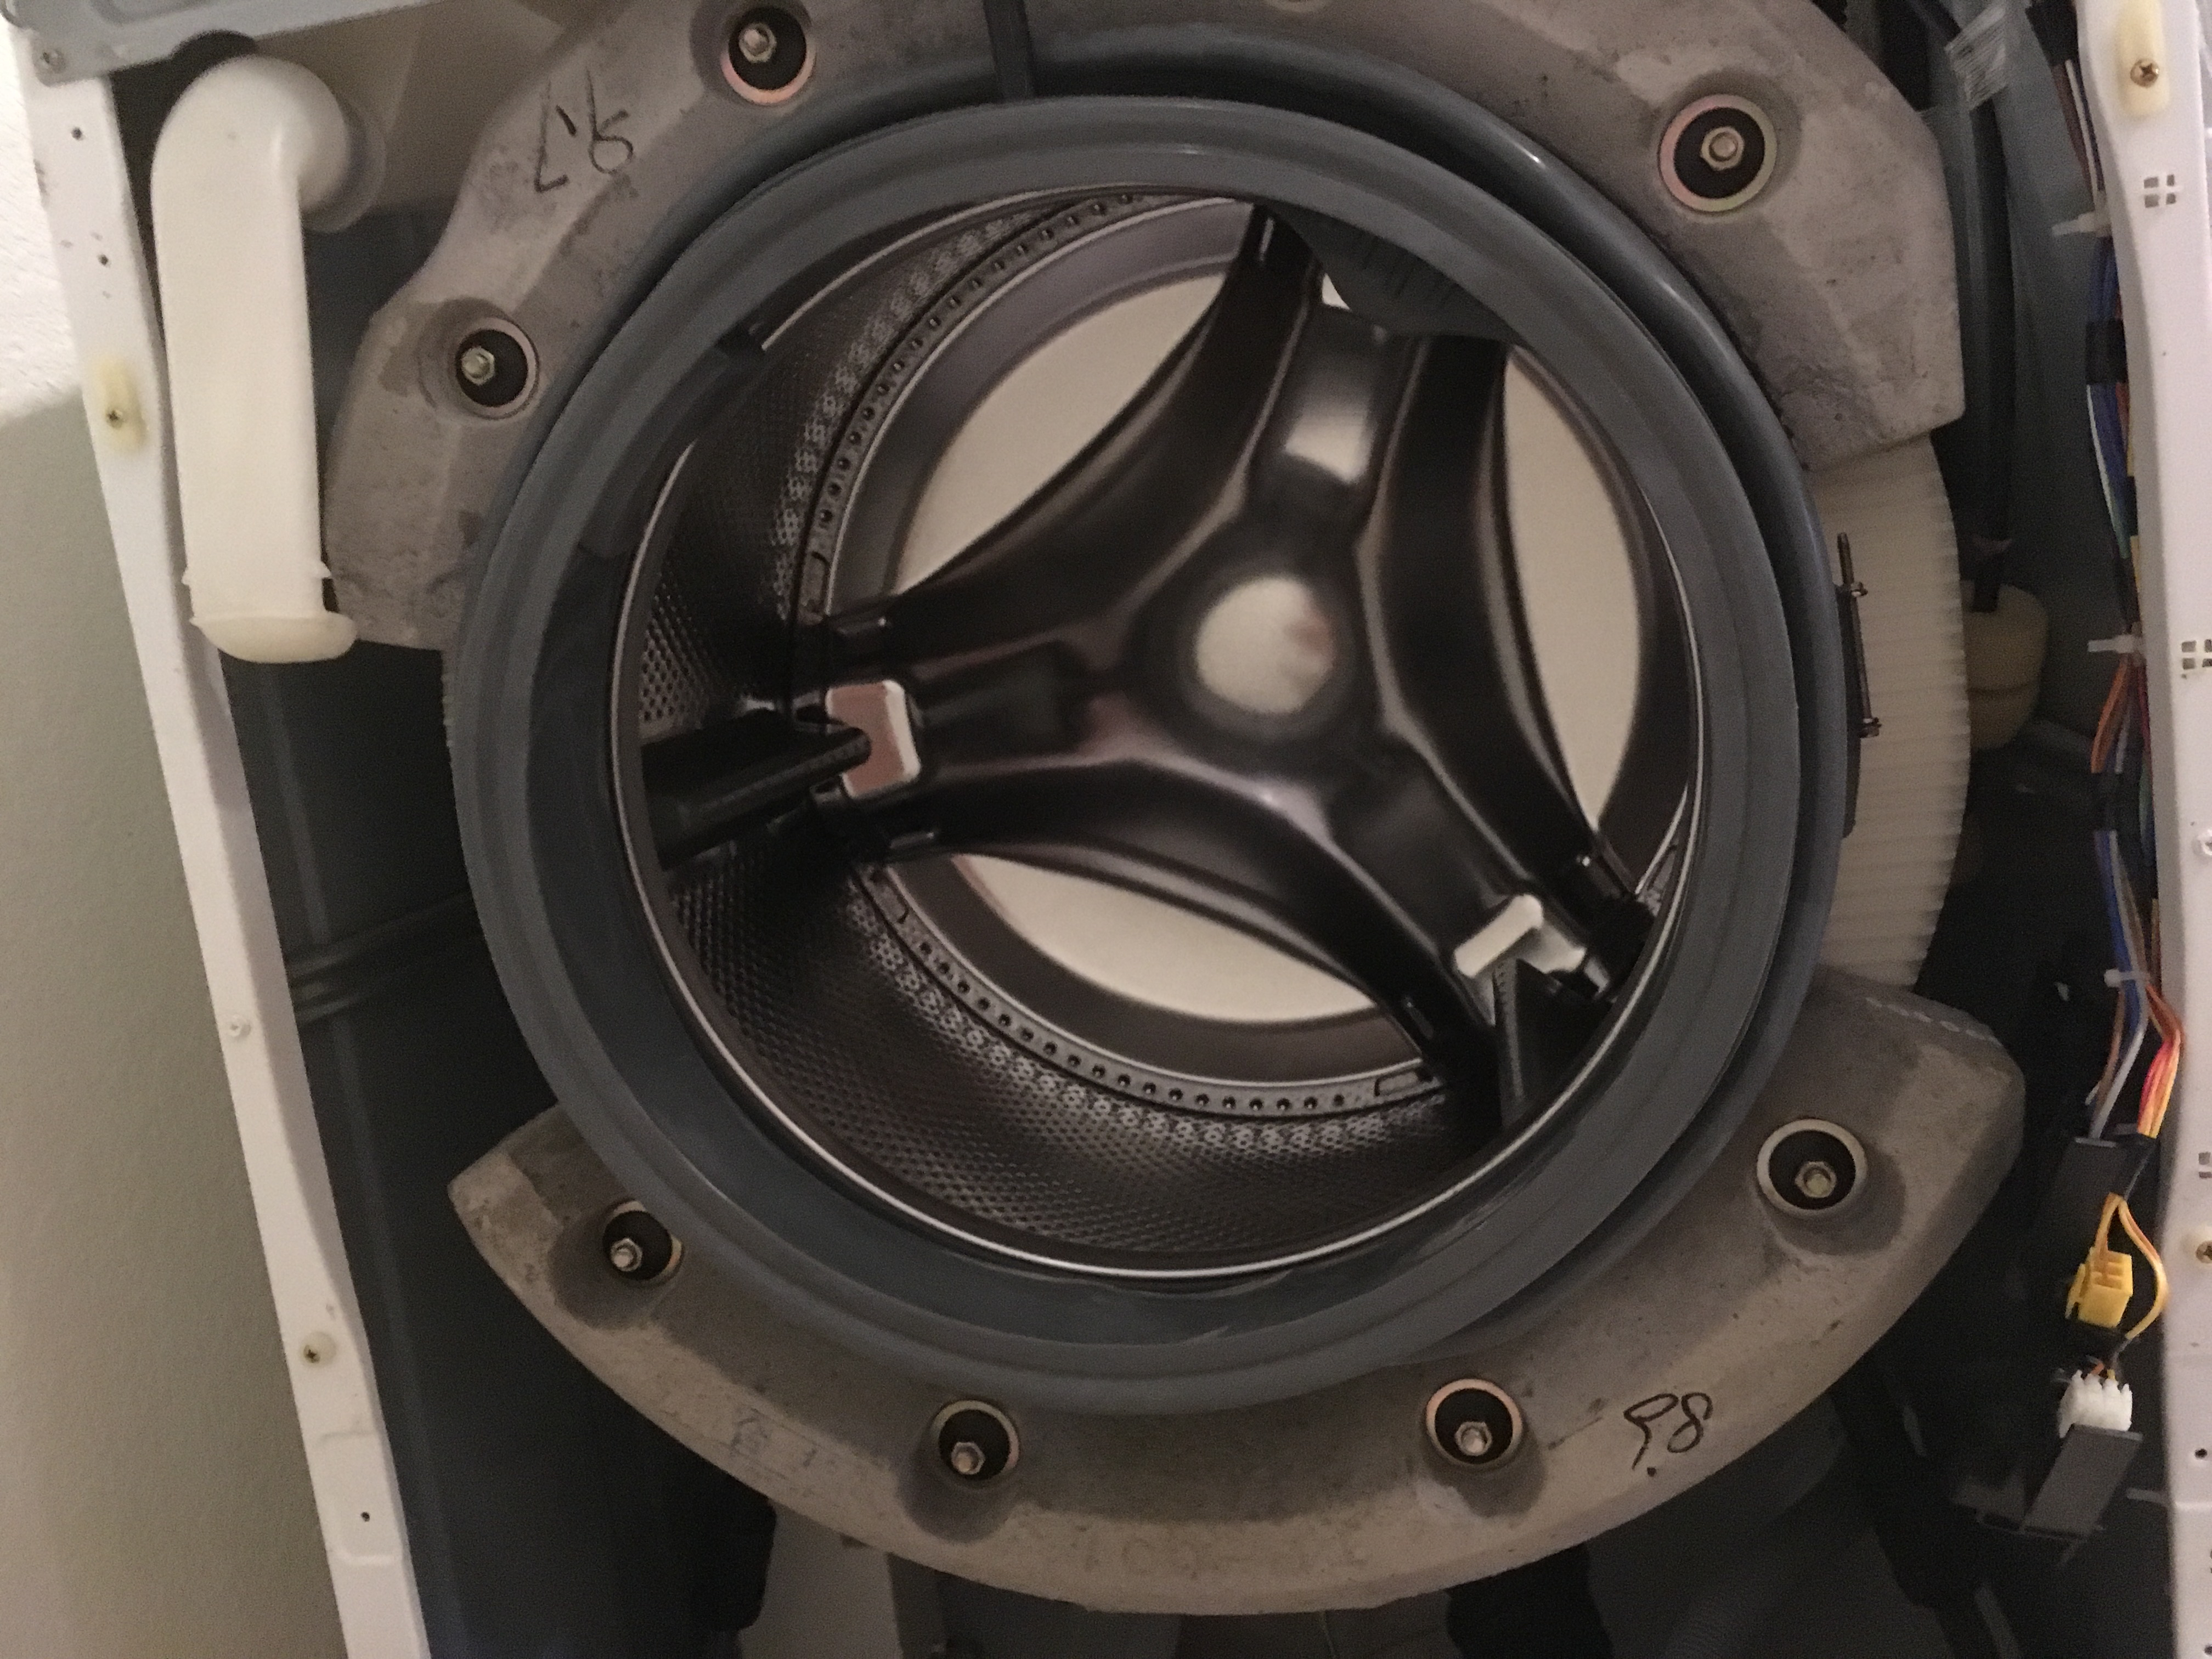
New door gasket part-way installed!
I think it went pretty much as the videos showed. Removing and reattaching the second clamp was not as easy as the videos made it look, but I went very, very slowly and it eventually worked out fine. I’m doing the first post-repair load of laundry as I write this, and I don’t see as much as a drop of water on the floor. Thank God.
The machine is fixed, it’s clean inside and out, and I finally leveled the washer after ten years of having it wobble a bit. Bonus!
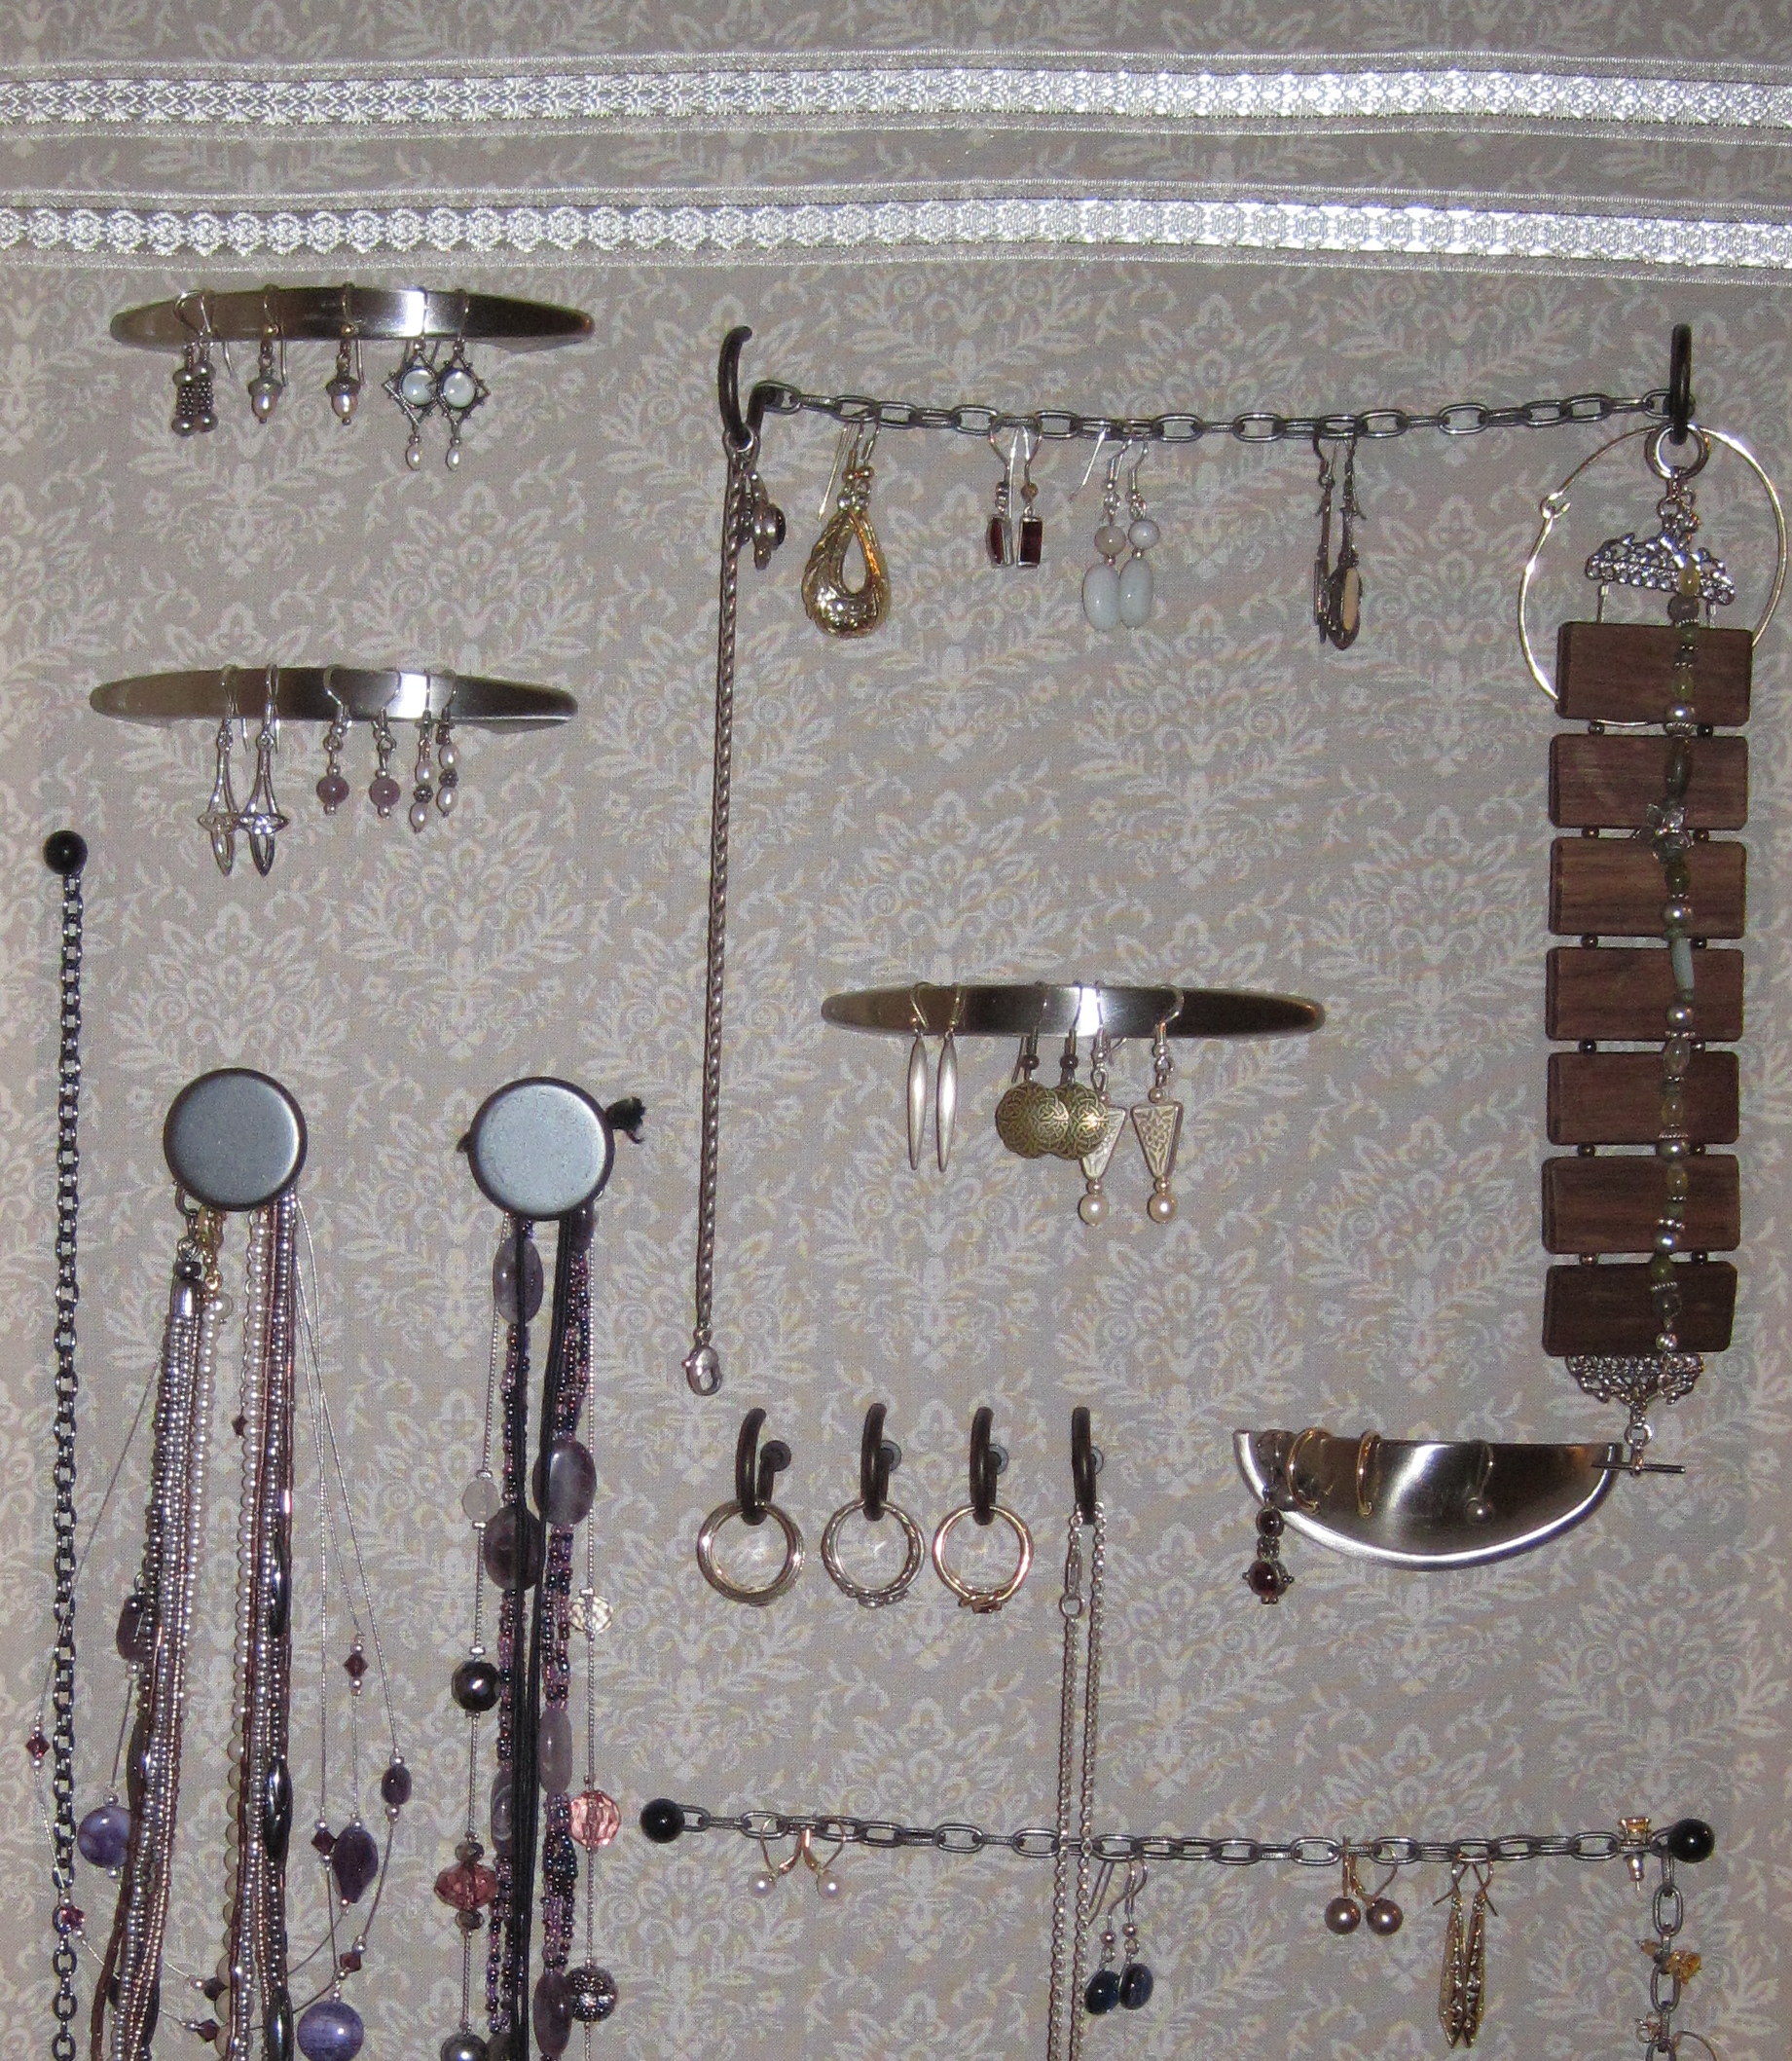
I finished yet another pinterest-inspired project today: a board for hanging my jewelry. The inspiration pin can be found here.
Wanna make one, too? Read on.
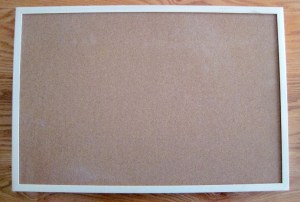
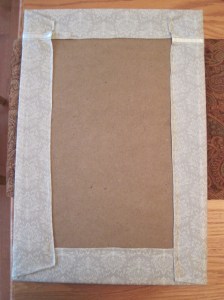
I bought an inexpensive corkboard, about 18″ x 24″ or so, from IKEA. For future reference, you should note the thickness of the board material (not the frame part, but the field part of the bulletin board). You may need to trim the screws that come with the drawer pull hardware, like I did. The thickness of my board material was 1/4″. When the screws were screwed all the way into the hardware, there was 3/4″ of an inch showing. Which meant I would have to cut off 1/2″ from each screw (with a hacksaw) so that they would fit my board. You’ll either have to do that, or look for screws that are the right length.
IKEA corkboard
Then I bought some miscellaneous drawer pulls. I also picked out some hooks and small chain and some push pins. Yes. This would have been less expensive if I had this stuff laying around already…
Laying out where the hardware will go.
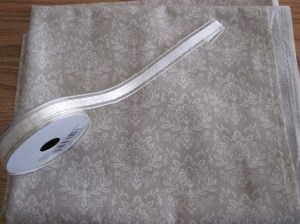
Then picked out some fabric and ribbon from Joanne’s.
Pretty bits.
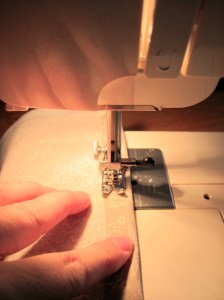
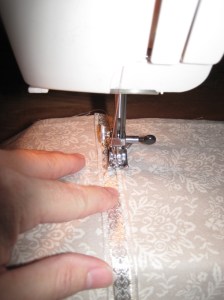
Cut and hem the non-selvage edges of the material big enough to wrap around the bulletin board leaving several inches.
Sew on ribbon to add some accents.
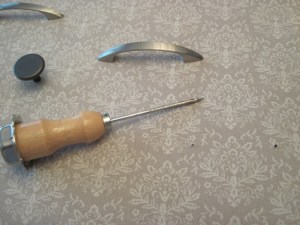
Put the fabric you’ve just sewn aside. Now using an awl, poke holes in the corkboard where the screws for where you want each piece of hardware to go.
Poke holes where the drawer pull hardware goes.
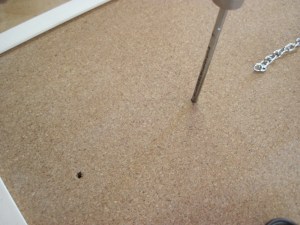
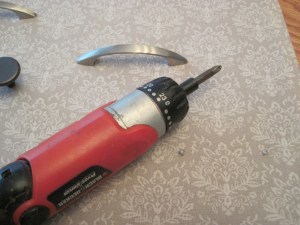
Using a drill, with a drill bit no bigger in diameter than the fasteners for the drawer pulls, drill all the way through the corkboard and its backing board. My corkboard had a thin, fiber board backing. So, when I drilled through it, it sort of made a hole with rough, fuzzy edges. After I drilled each hole I scraped away the debris from the front and back of the board around each hole.
It’s a good idea to do a dry run and screw the hardware to the board, to make sure the holes are all in the right places. If not, make adjustments, then take the hardware off again.
Testing to make sure the holes match the hardware.
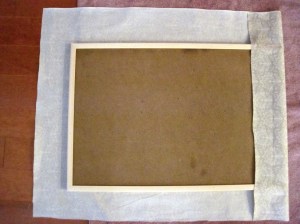
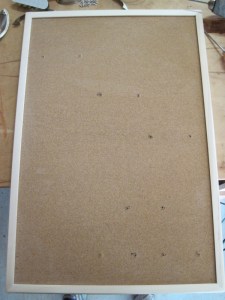
Now it’s time to wrap the board in fabric. I did this using a stapler, into the back of the board. Wrap the fabric tight, working your way around the board.
The back of the board.
Again, using an awl through each pre-drilled hole in the back of the board, poke a hole through the fabric on the front. Be careful not to snag your material. This will allow the screws to go through the fabric without twisting it or tearing it. Then, place the screws into each hole, through the back of the corkboard, using a screwdriver to turn the screws through the holes you’ve just pierced into the fabric.
Pierce the fabric for each screw-hole, to make way for the screws.
Turn the screws through the back of the board til they are clear of the fabric.
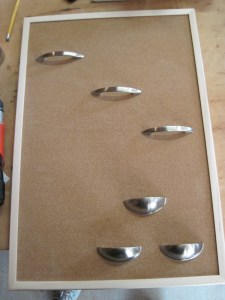
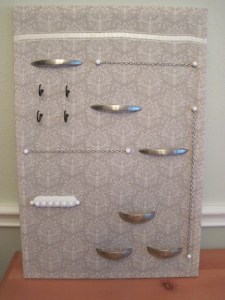
Now you just need to place the hardware over the screws and tighten them down.
I added some chain fastened with push pins on either end – more space to hang earrings.
Over 2 years ago I posted a picture of the catboat wind thingie that monte made me (here’s the original post). It had sails made out of ripstop nylon which I had sewn and installed on each little boat. It worked great, and I LOVED it. As the wind blew, the boats started turning and the sails tacked and jibed as they went around.
Then last summer, I posted a picture of it after it had been attacked by squirrels (here’s that post). One of them went nutso in the heat of the summer and ripped up the sails. And just like that my catboat wind thingie was out of service.
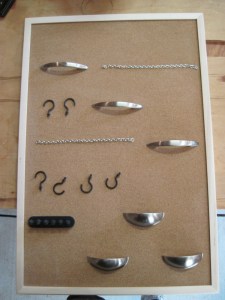
Til today! Monte made new sails out of copper sheets, and fastened them to the mast with copper bands and replaced the string mainsheets with little pieces of metal chain.
It’ll take a stiffer breeze to make it go round, but it’s back! I love the new, improved version.
I was inspired to make this wreath by a do-it-yourself project that I ran across on pinterest (original link here) and pinned it in my “DIY: wannado’s” board a month or so ago. I immediately knew that I was going to try to make one – not just because I loved the way it looked, but because I have been hoarding corks for 10-15 years (much to monte’s bemusement) just waiting for a project I could use them in. The hot-pad-trivet-made-out-of-corks projects I usually run across just didn’t do it for me.
I love wreaths, and with Thanksgiving and Christmas around the corner, I knew I’d better get started if I wanted to finish it before the holidays. I love how it turned out. Here’s how I did it.
What you’ll need: straw wreath body, straight pins, glue and lots of corks.
I bought an 18″ diameter straw wreath body (from Michael’s) a box of 1 1/4″ dressmaker pins (longer is better) and some craft glue (from Joanne’s). Then I dug out and dusted off several bags/boxes labeled “corks” from the garage and started sorting. I didn’t keep track of exactly how many I used, but I’m pretty sure it’s on the order of about 400-500 corks. I can’t help but do a little math here…. if i estimate that on average I spent $12 a bottle… that means this wreath cost in the neighborhood of about $5000. (heheheh… sigh) Anyway, as I was sorting, I tossed corks that weren’t 100% solid cork. Many were made up of lots of little pieces of cork molded in the shape of a cork. I also wanted to mix up the red wine (stained) & white wine corks and mix in a champagne cork every now and then. So I picked out bunches of them as I went along.
Sort your corks.
Stick a pin into each cork – get a good bite but leave as much of the pin hanging out as you can.
Stick a pin in the end of each cork.
Then put a line of glue on the pin.
Apply glue to the pin to help it bond with the straw wreath form.
Then stick the cork into position by pushing the head end of the pin into the straw wreath form. I inserted them all at an angle, where one row laid on top of the last one. Sometimes the pins went into a gap between the straw and didn’t stick well. So try to make sure you poke the pin through some of the straw when you push them in. Between the pins and the glue, the corks were surprisingly stable in the wreath when finished.
Push the head end of the pin into the wreath form at an angle.
I must admit that it was a little daunting getting started, but after the first row or two, it really was easy and went a lot quicker than I expected. Here is a close up of how the layering turned out. Some of the corks had years printed on the end or a unique logo, which added a nice touch to the detail.
Mix ’em up.
I hastily added the ribbon as an afterthought, to dress it up for the holidays. I know the ribbon looks a bit hokey, but I wanted to hang it up on the door to take a picture, so I was in a hurry. But you get the idea. After Christmas I’ll remove the ribbon and hang it on a wall in the house dining room or kitchen.
I ran across a DIY post online showing how to tie a Celtic heart knot. So, I tried it and made this little chachki. It needs some work to emphasize the heart shape, but I like it!
If you want to see how to make one, this YouTube video shows you how and is easy to follow.