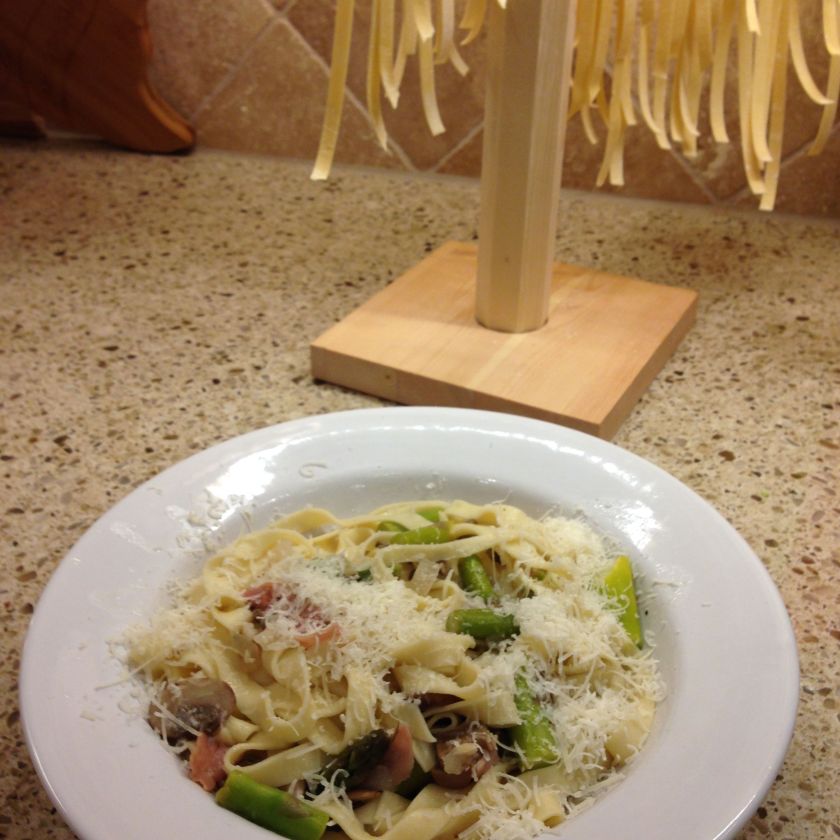
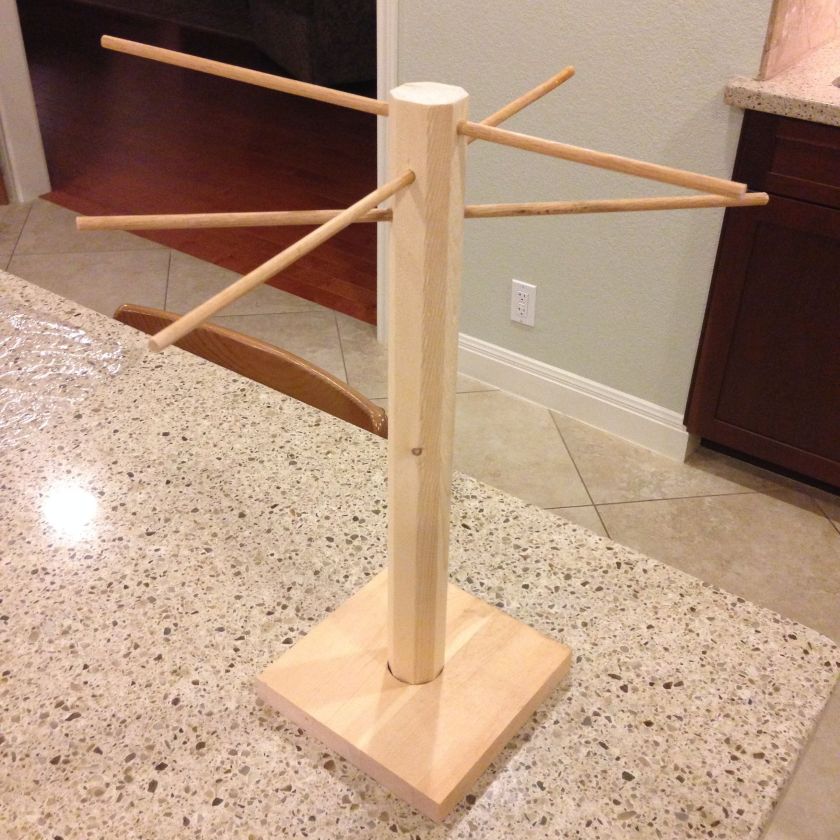
I’ve crossed off another project from my growing wanna-do list in my head this weekend. As you may have come to know through this blog, we like to make homemade pasta. A lot. Spaghetti, fettucine, ravioli, waddevah. It’s the food of the gods. Over the holidays, I ran across a fresh pasta hanger on Amazon and it looked so simple and easy to make, that I refused to put it in my cart. We have a gynormous wood shop out back. So I did a little recon and found what I needed already in the shop and… voila! Ye olde pasta hanger. I made it without glue, so I can take it apart to store easily in the cabinet.
Tonight I tried it out. So, here’s how it went down:
- 2 1/4 cups flour
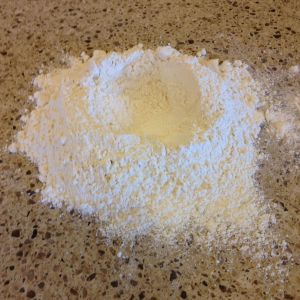
- 3 eggs

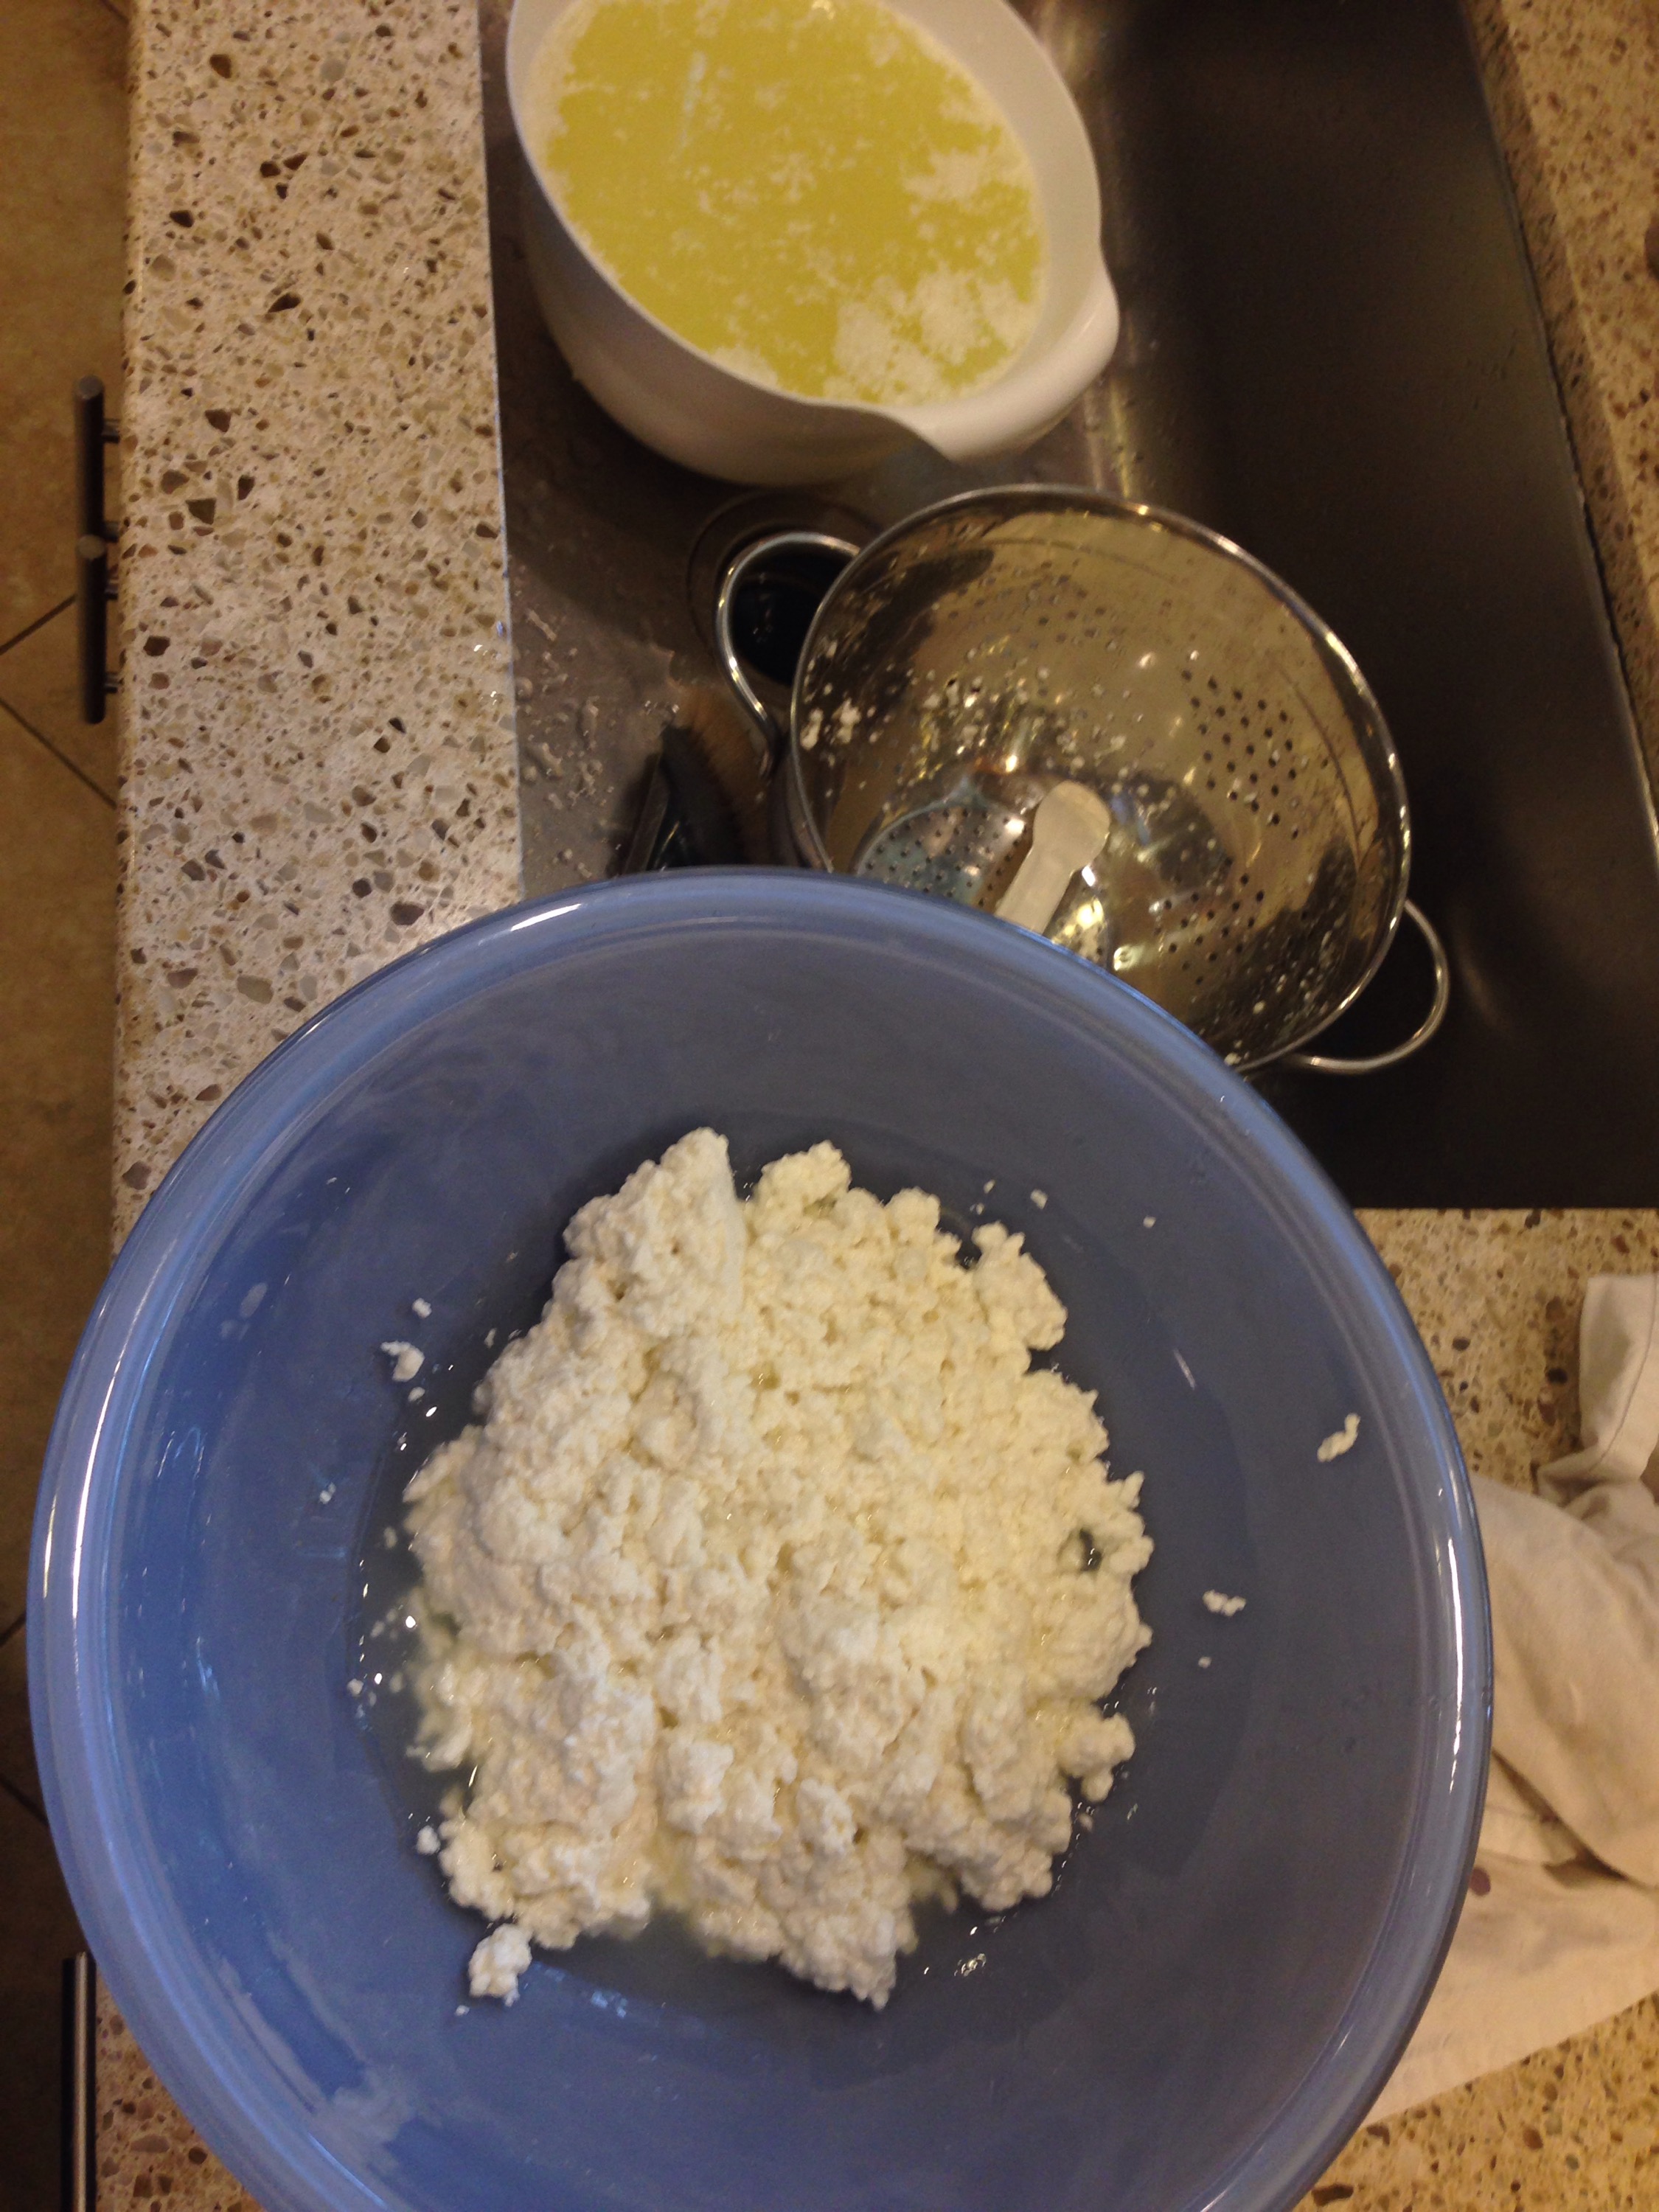
- stir / mix with a fork, blending the egg & flour crater from the inside out. You may not need all the flour. When the dough stands on its own, knead by hand for 10 minutes. Till it looks a like more or less like this:
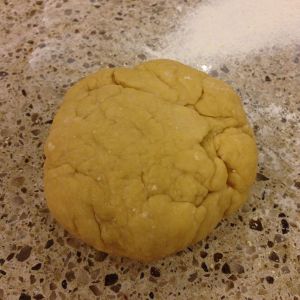
- Wrap dough ball in saran wrap and let sit at room temp for 30 mins or so.
- Afterwards, I cut the dough ball into 3 equal-ish sided pieces, ready to put through the pasta roller.

I used our Kitchen-Aid roller, starting on setting 1 – ending on setting 5. Rolling and dusting the dough with flour several times on each setting. After rolling each of the three balls into a sheet at setting number 5, I cut each in half. I found that each of my six pasta sheets ended up making about 2 ounces of pasta – a serving. So 3 eggs + 2 1/4 cups of pasta yields approximately 6 servings.
Next, I put the fettucine pasta cutter on the Kitchen-aid
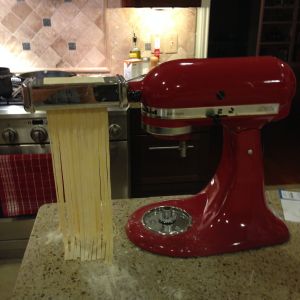
I hung each section on my new, handy-dandy pasta hanger. (Awesome!)

Then I threw the pasta into a pot of boiling water. I sauteed the other bits in a skillet with some olive oil and I let the flavor develop.

Yummm!